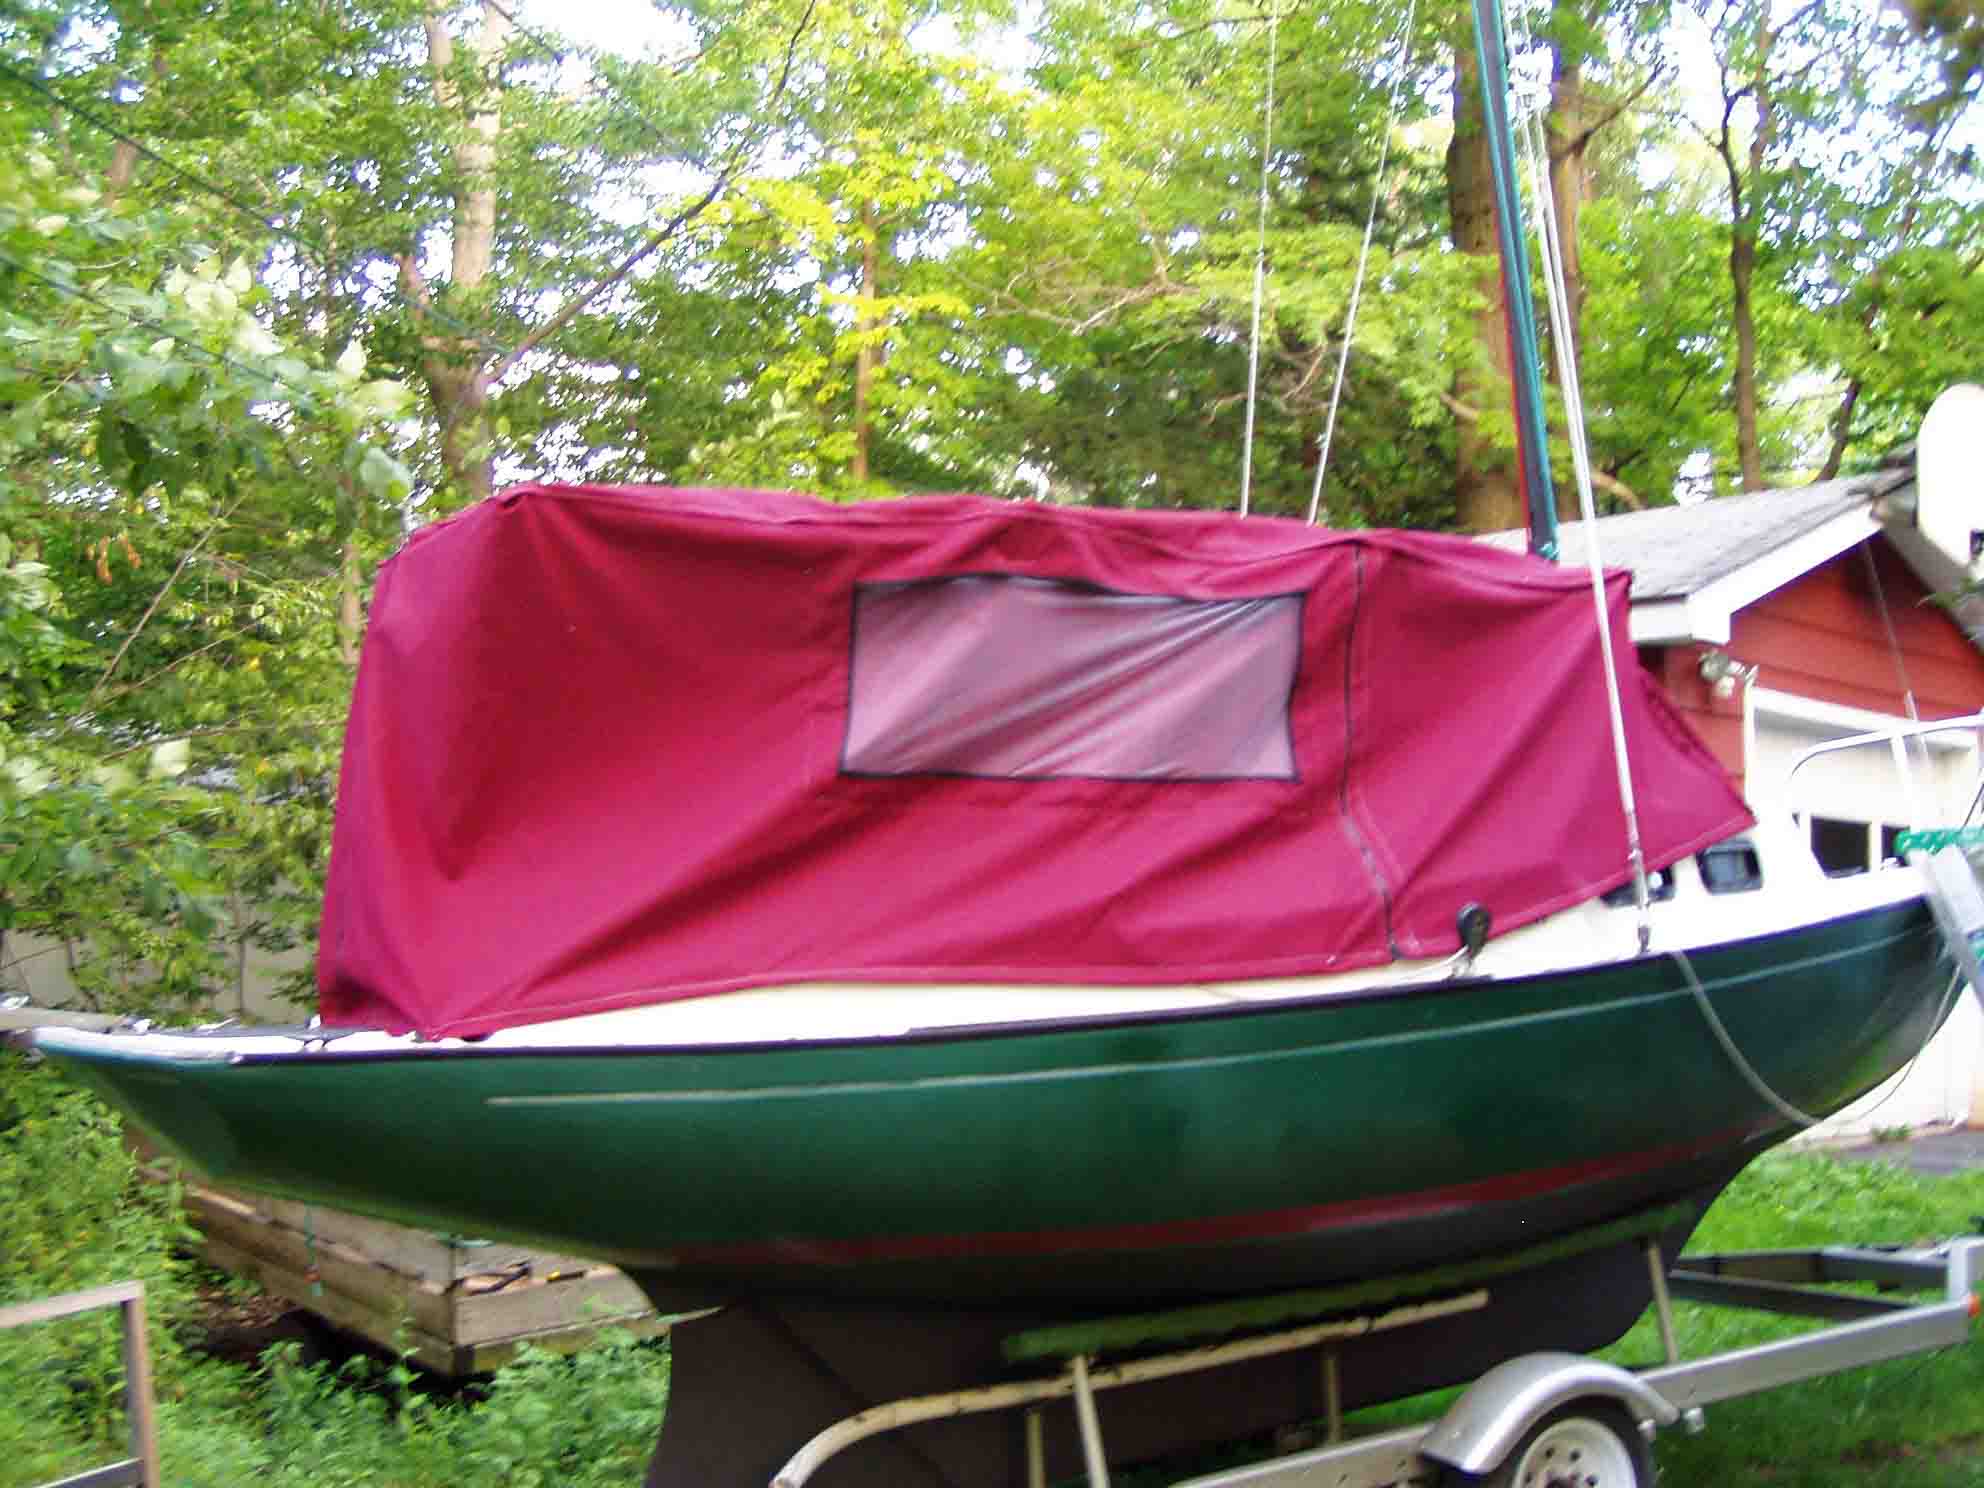
I just completed constructing a boom tent for my Victoria. For those unfamiliar with the
device, it's simply a tent that sits on the boom and covers the cockpit. The interior of
the Victoria cabin has a couple of berths for very skinny people. For the rest of us sleeping
in the cockpit is the only way to overnight.
Getting Started
Never having sewn, besides an occasional errant button, I had to do some research and purchase
a machine. The machine purchase turned out to be insane. Turns out you can't just go to Sears
and get a cheap starter machine if you're gonna sew canvas. Modern machines have plastic gears
and if you try to force a needle through layers of canvas they'll strip. You can get machines
with metal workings but they're really expensive. The good news is that before plastic got
popular older machines were all made with metal gears. So, I got on E-Bay and found an old
Singer 404 circa 1960 for 60 bucks. Turns out it got the job done and it really took a beating.
With the machine in place I rounded up materials. Got 20 yards of 60 inch wide sunbrella on
E-Bay. Got a couple of 10 foot pieces of 3/4 inch PVC pipe at the local hardware store and
screen material, snaps, zippers and thread from Sailrite.com.
Construction
The first thing I did was cut four pieces of PVC for use as roof battens. I got the
length of the roof battens from the Victoria website under
Parts and Specs .
Then I made pockets for them out of the sunbrella

|
| Actually there are 4 of them, one at each end and two evenly
spaced in the middle. |
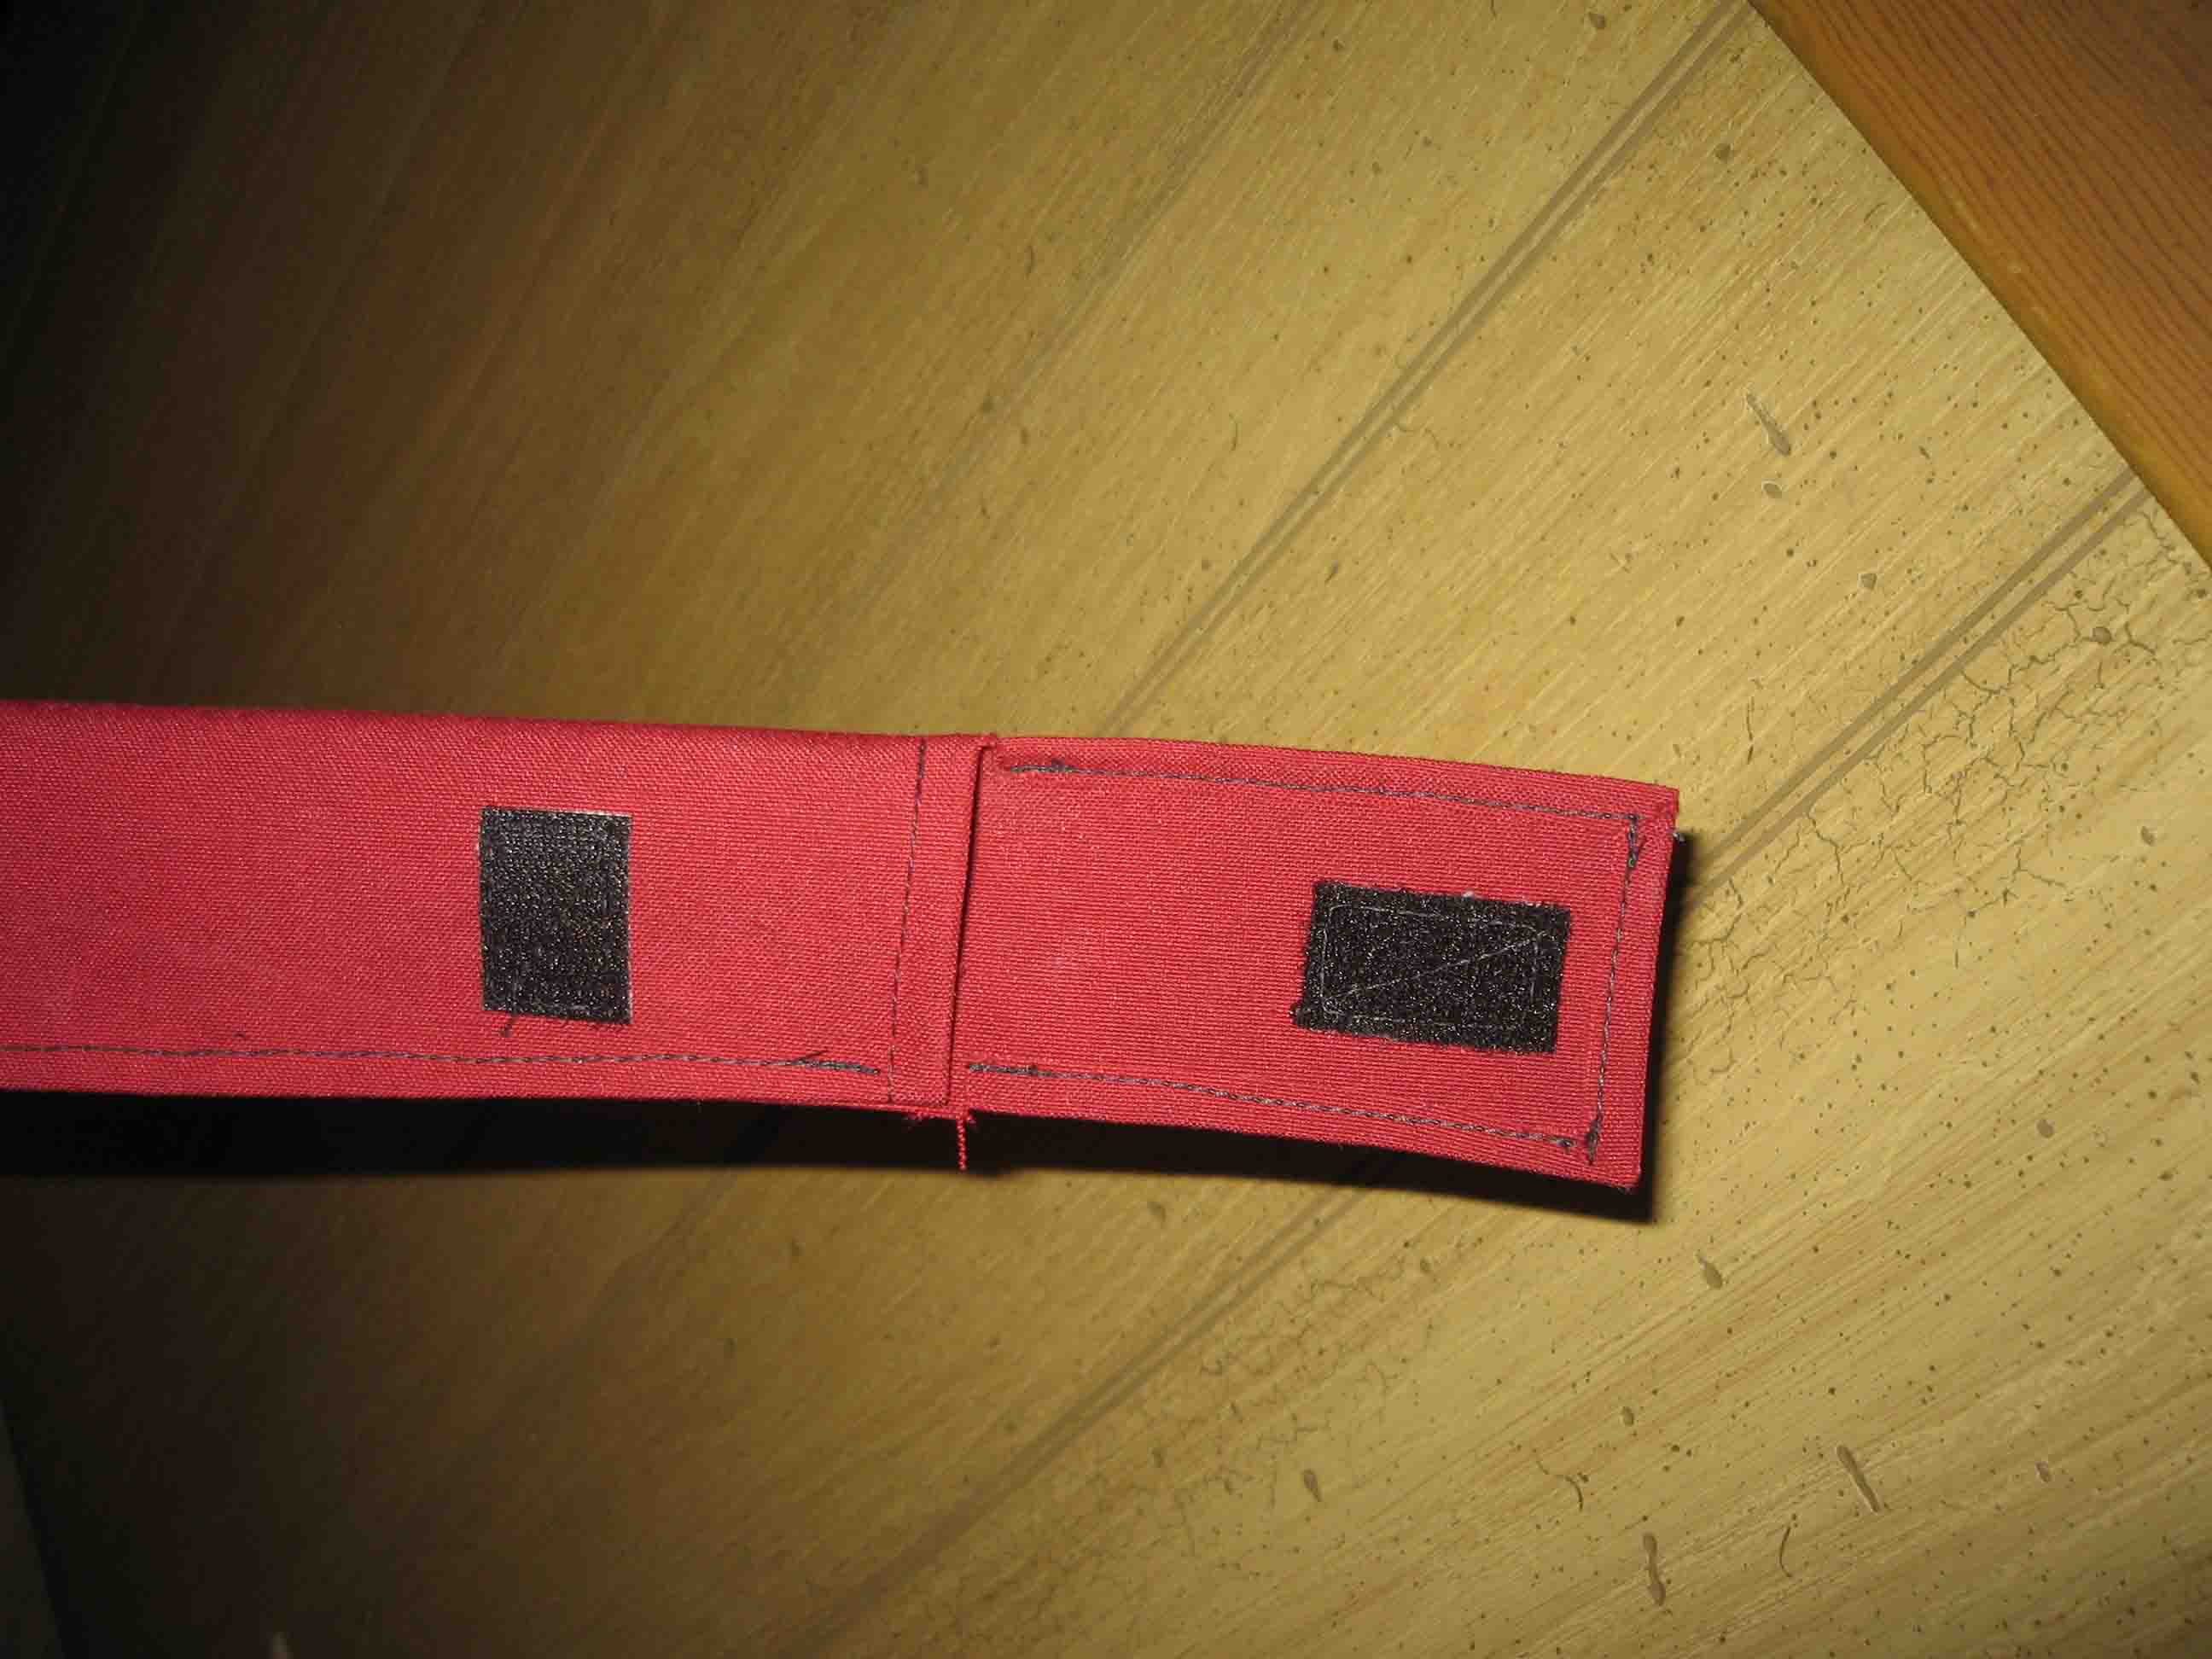
|
| I used Velcro to close the ends of the pouches. |
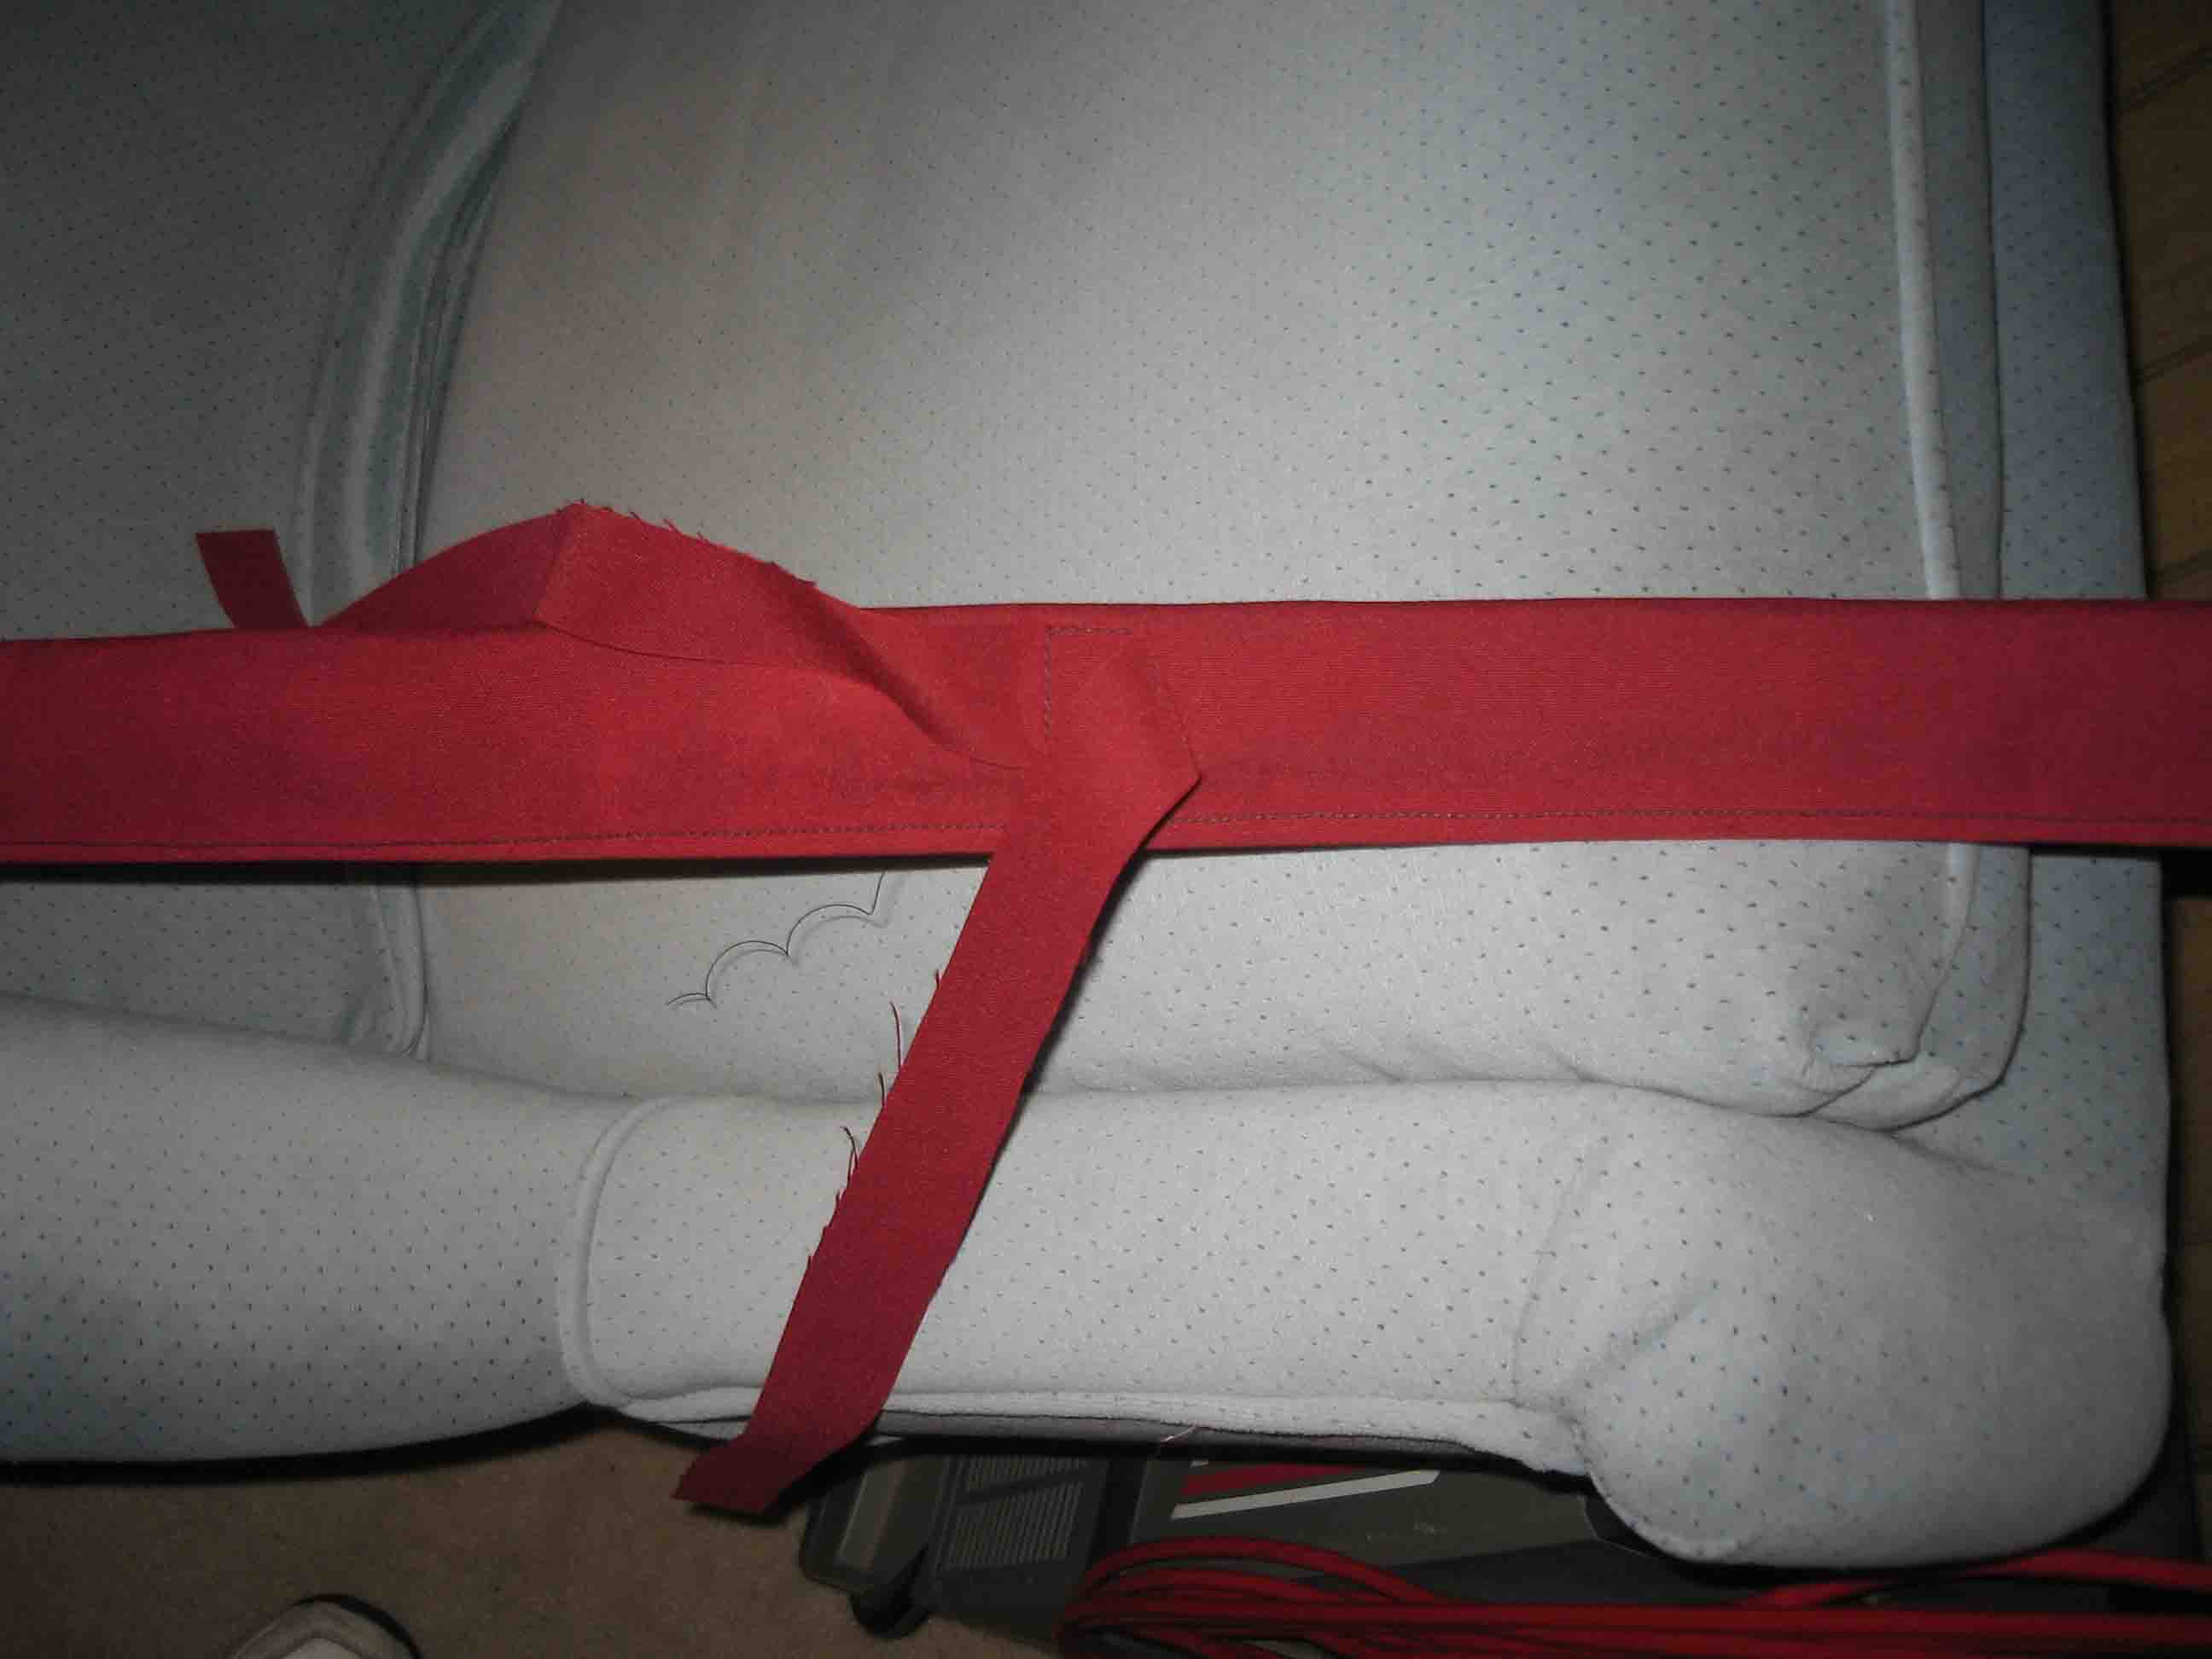
|
| And sewed in some ties to help hold them centered on the boom. |
|
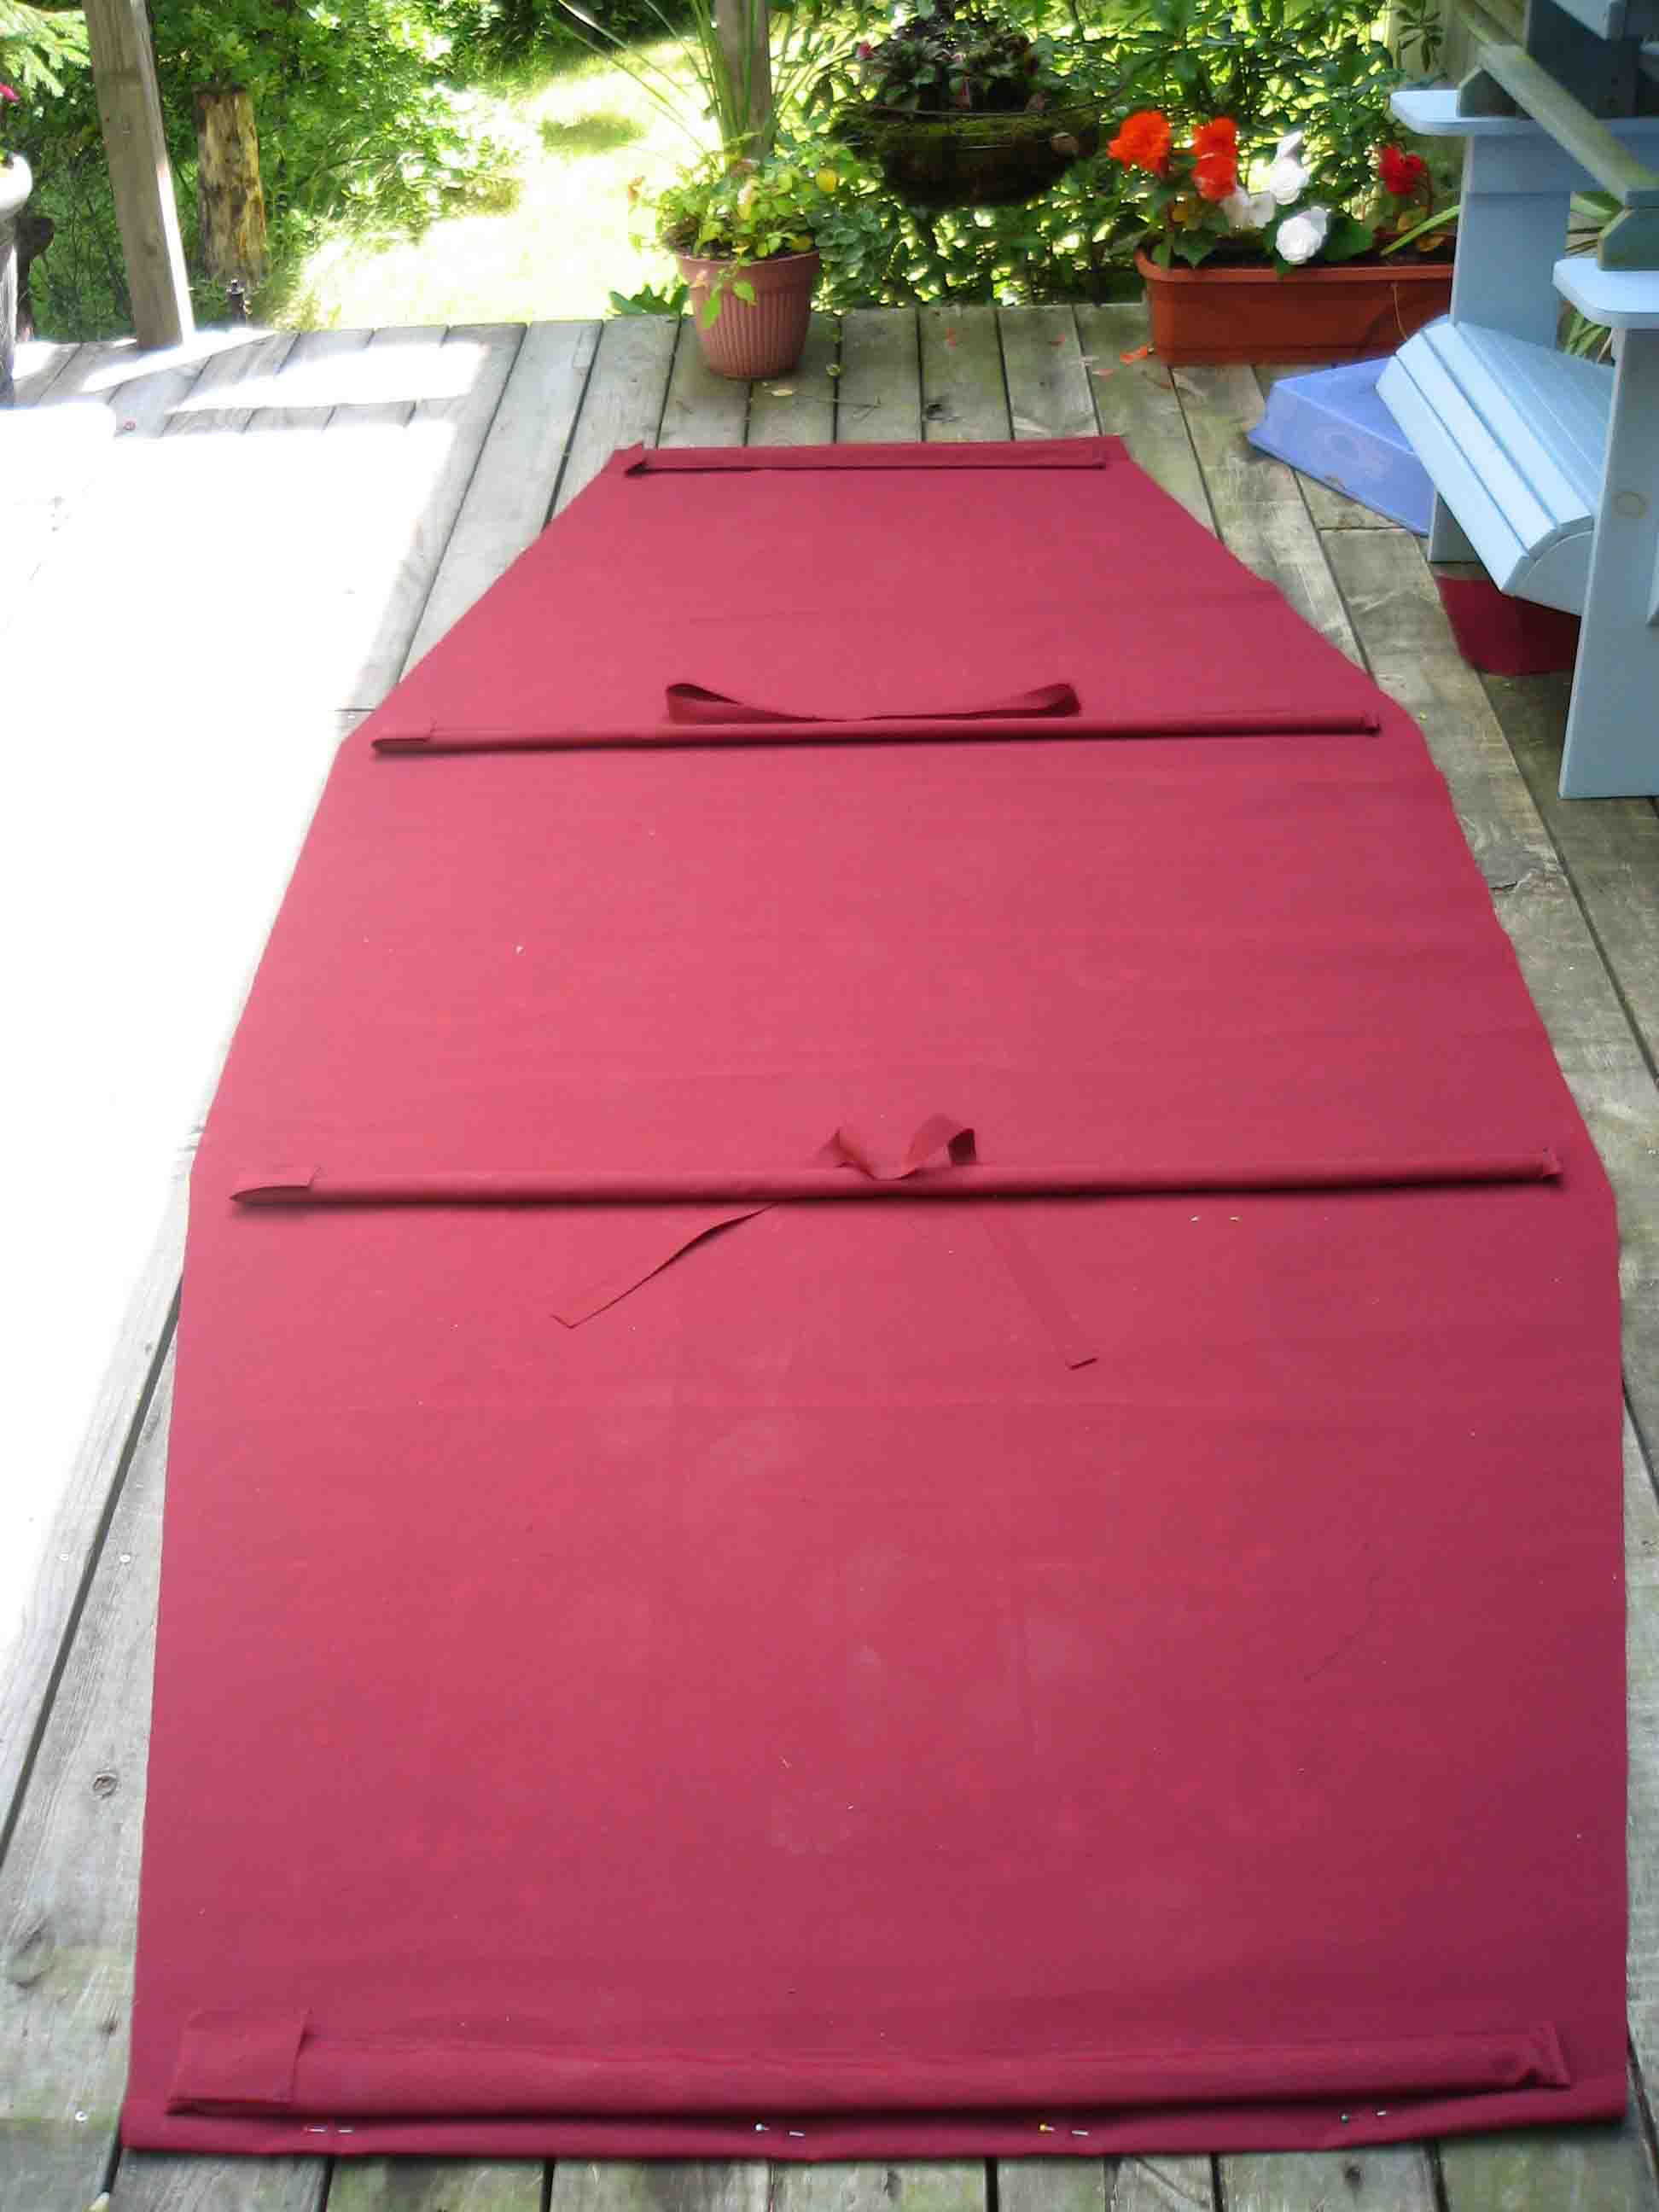
| I cut and hemmed a piece for the roof using the length of my boom
for the length and the width of the battens to form the pattern. Then I sewed
the batten pouches to the roof.
|
|
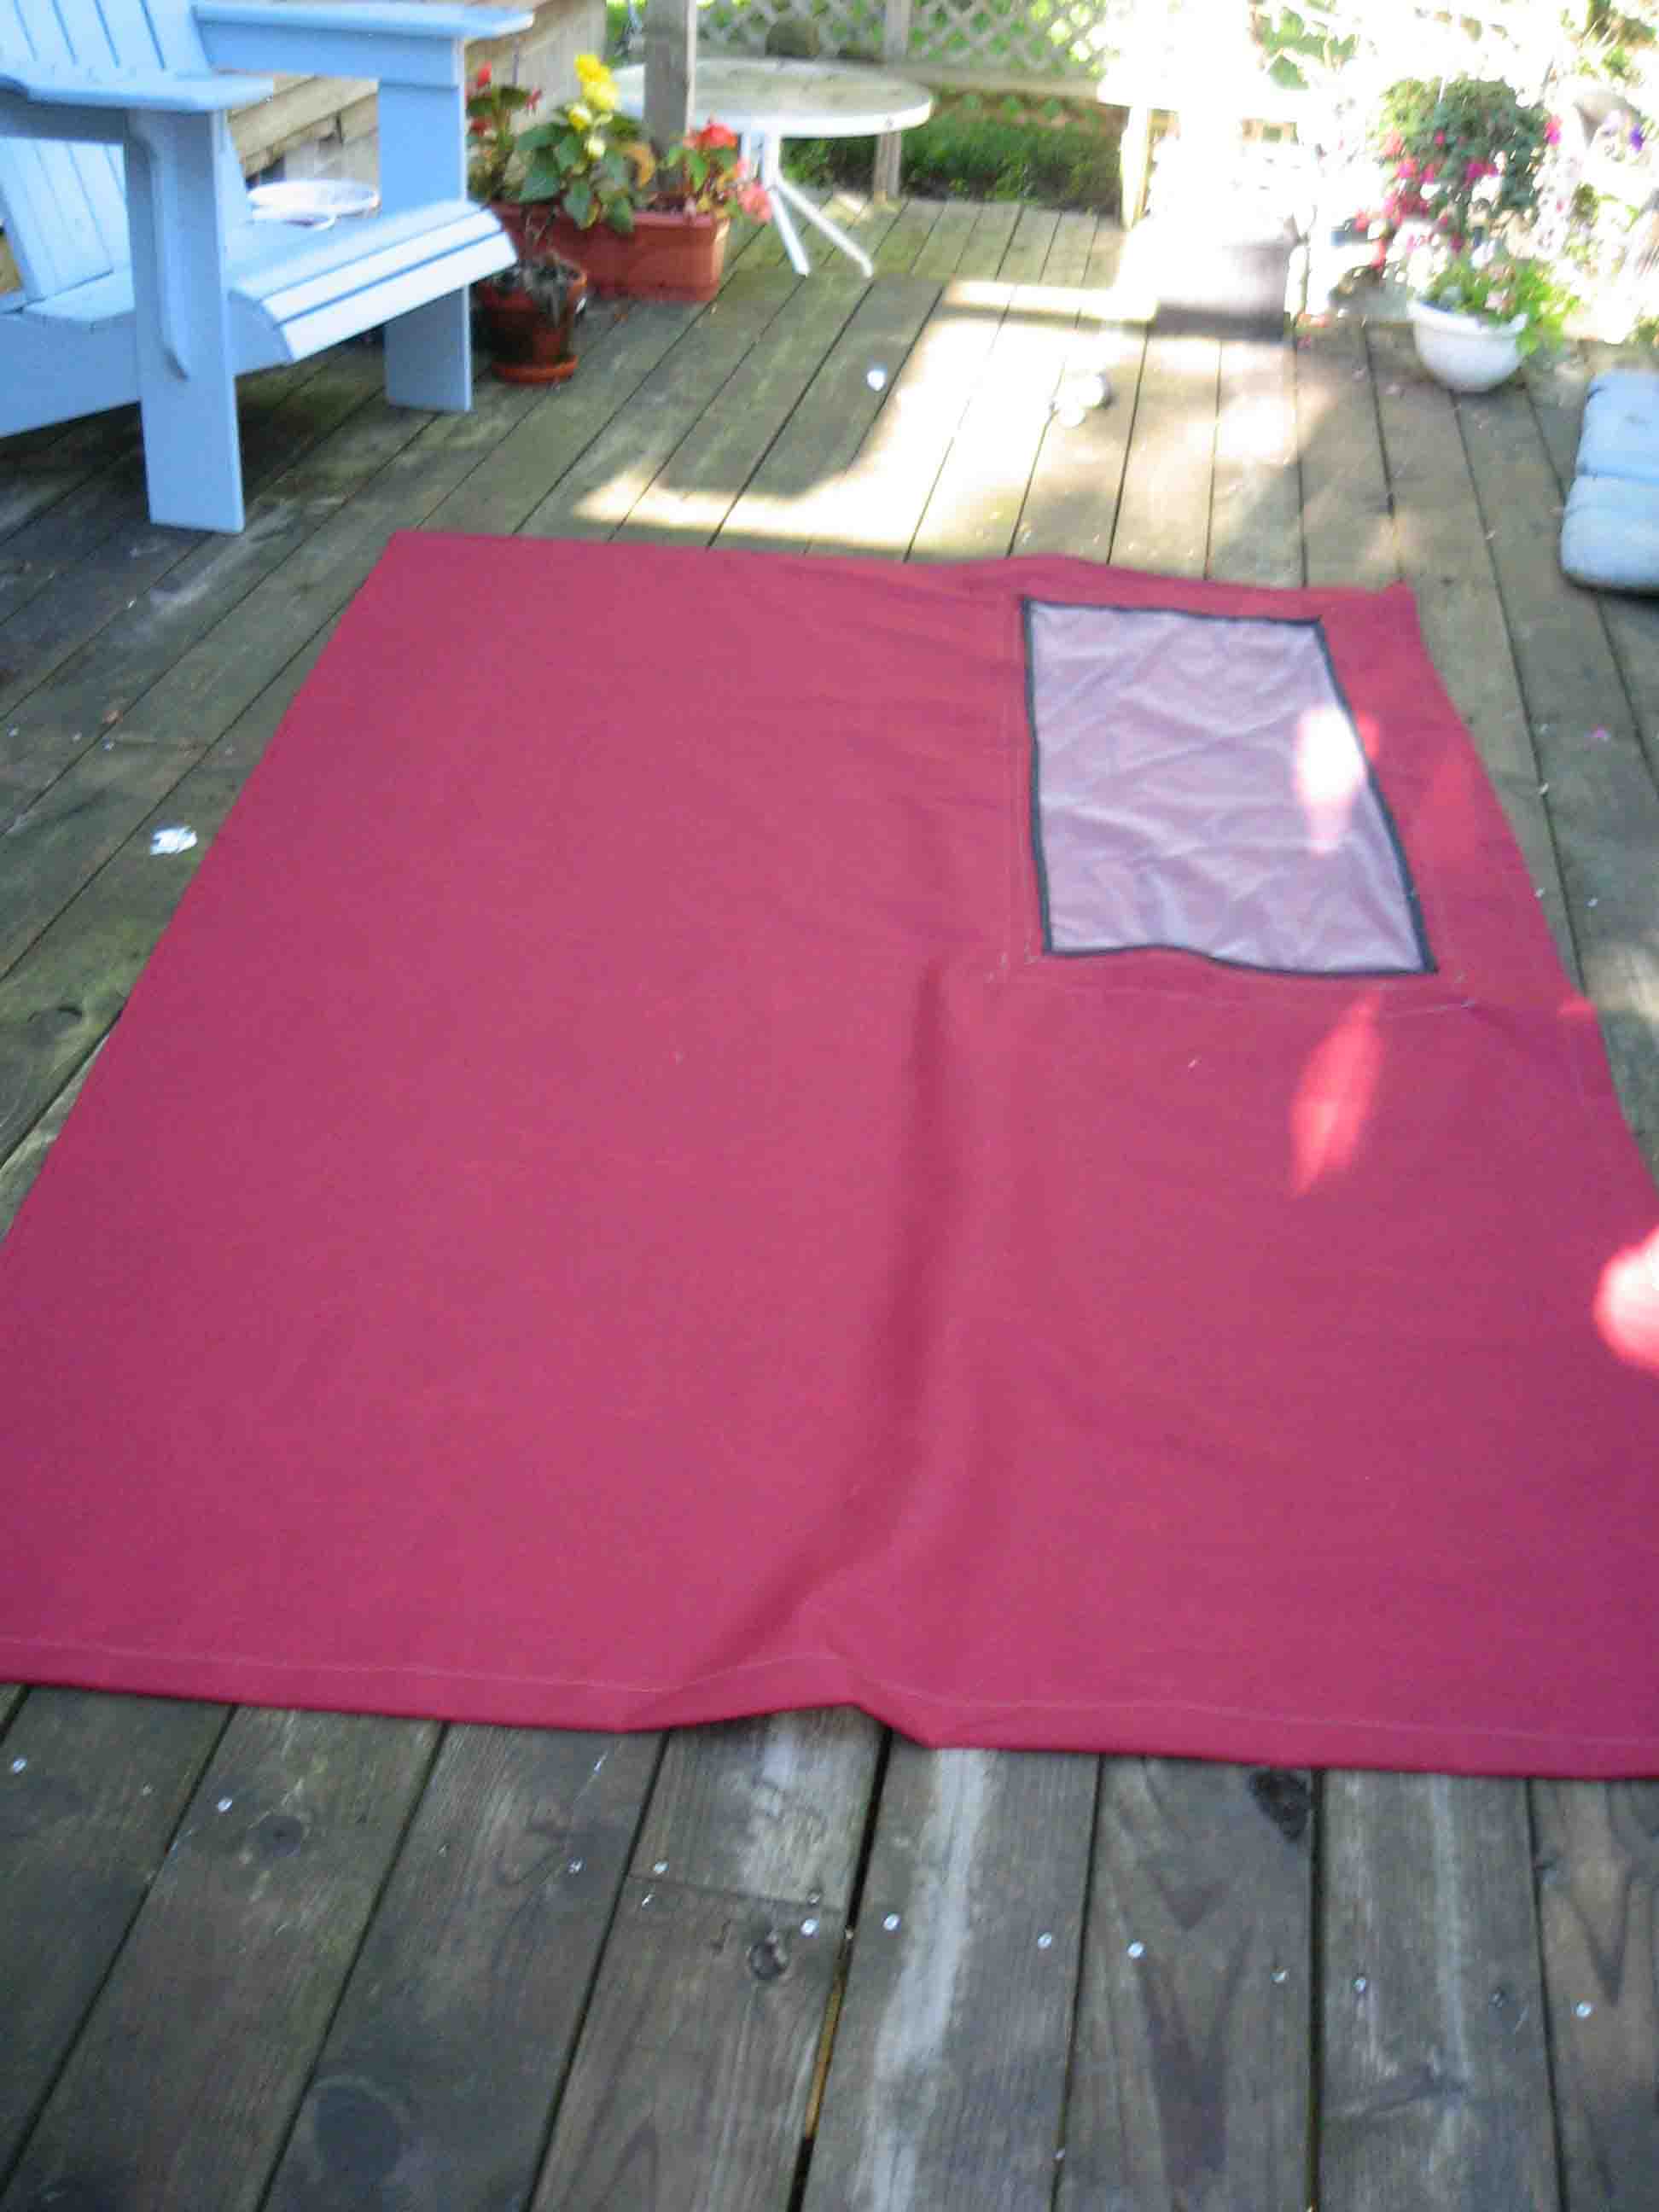
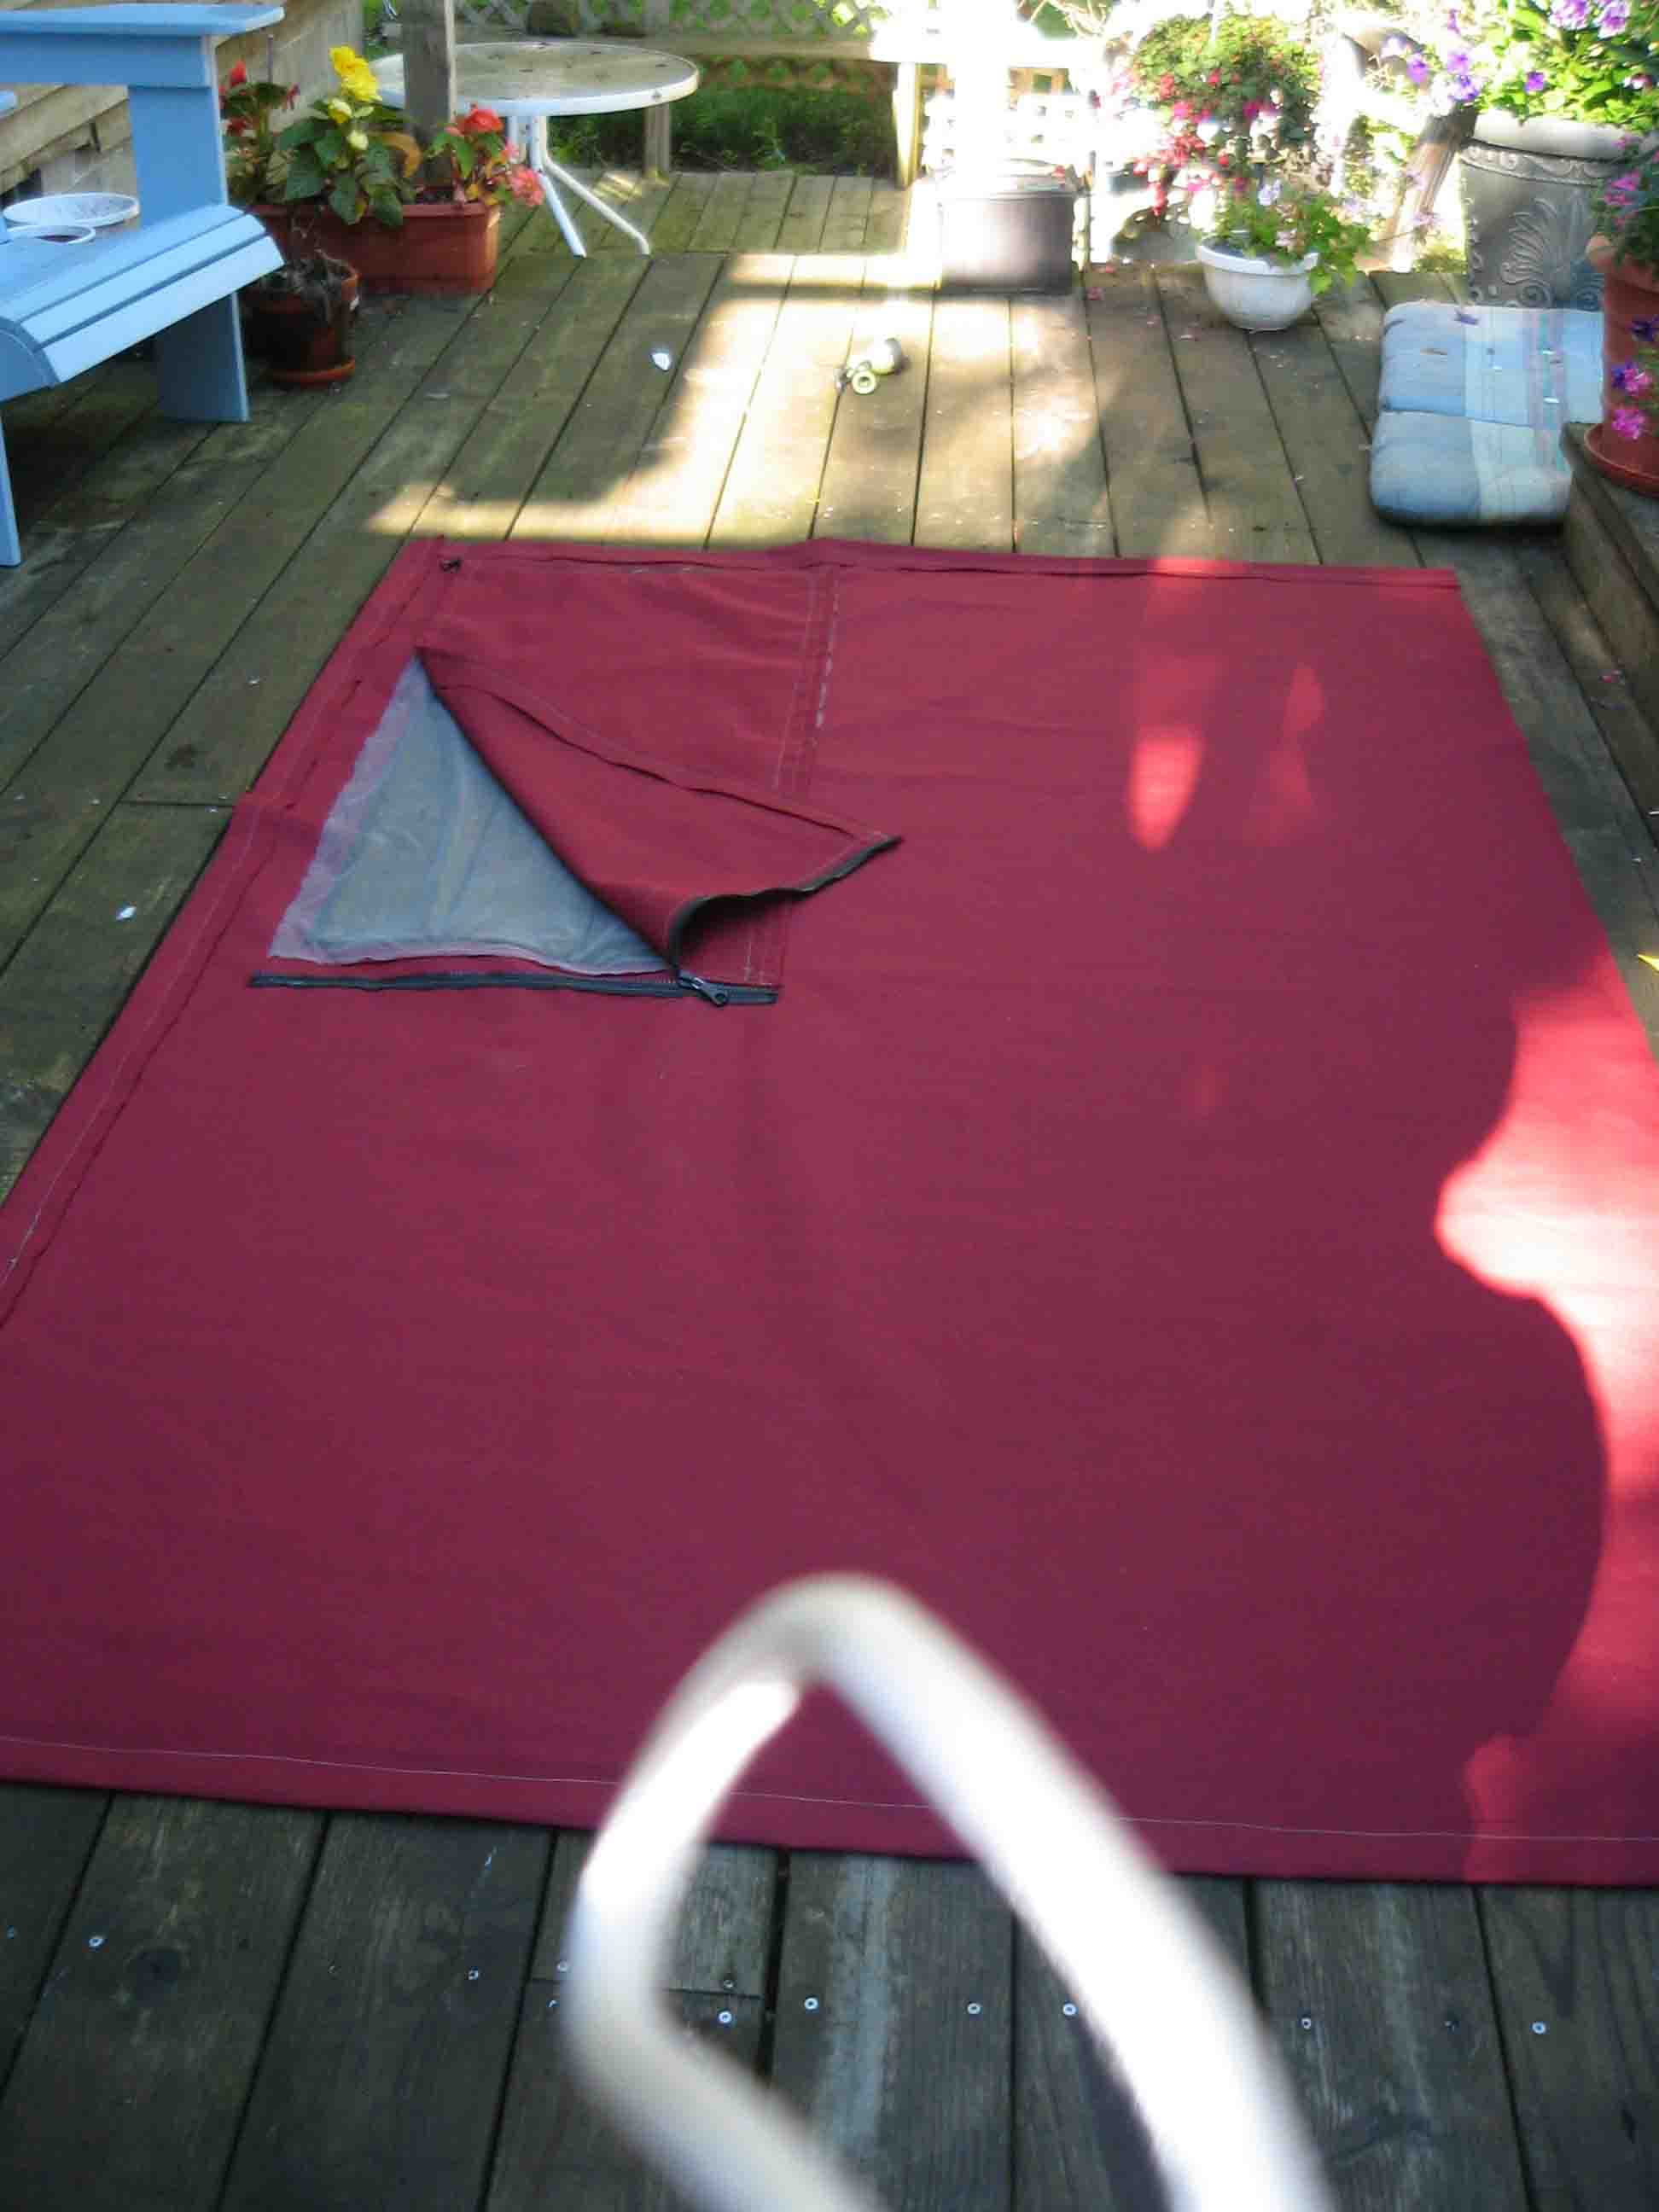
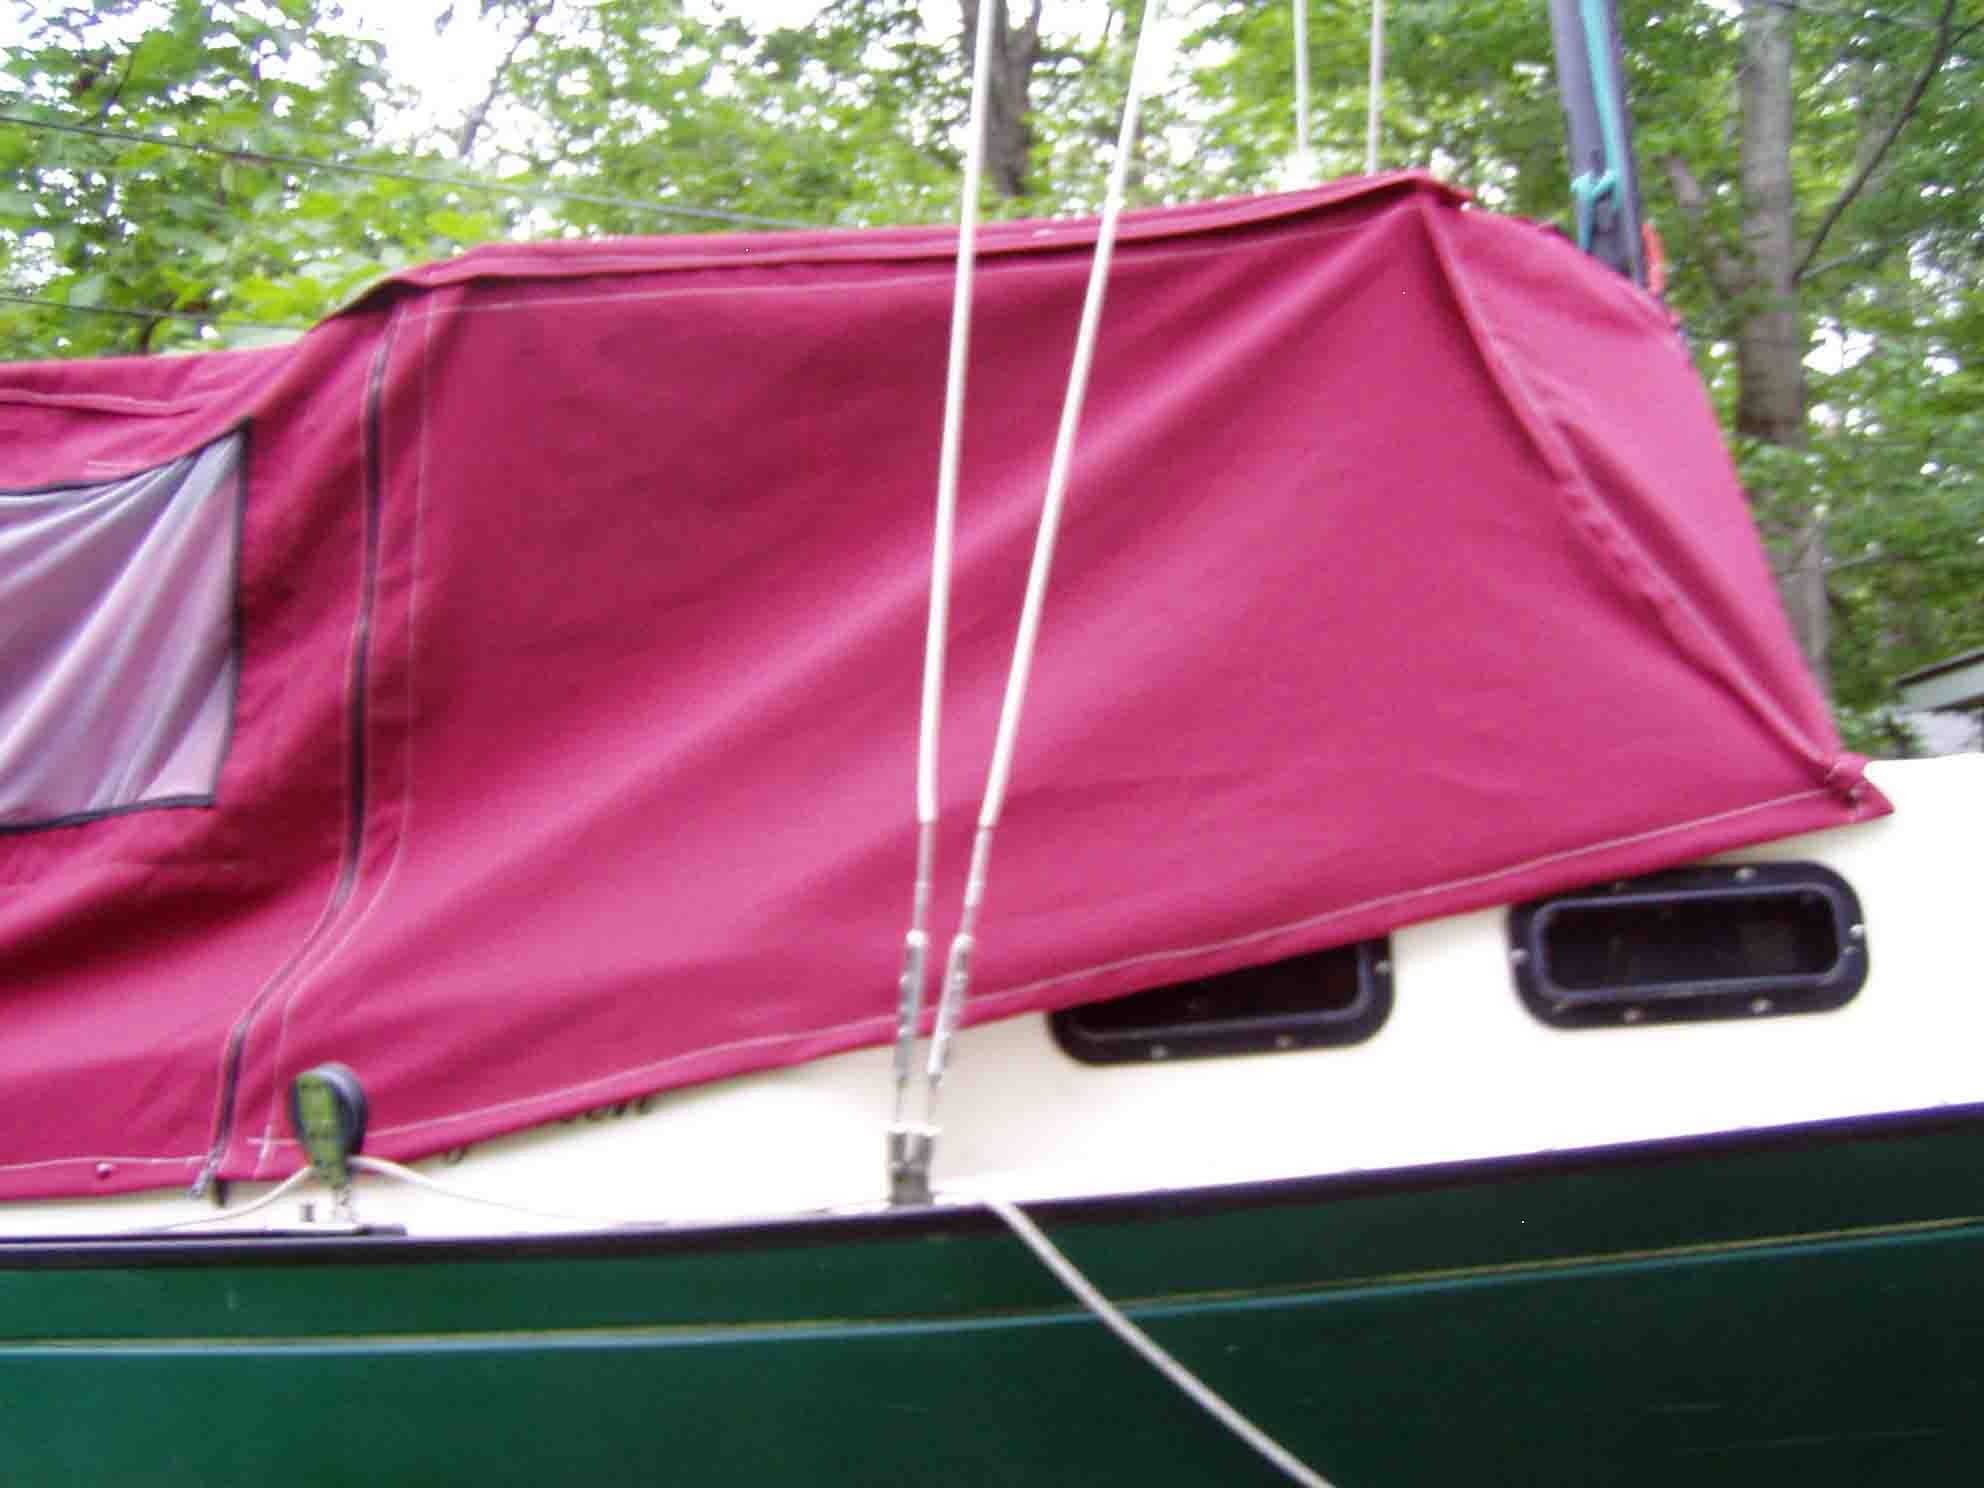
| I made 2 sides that met at the back of the tent with a zipper, including a window with
a screen. The foreward edge of these panels also have a zipper which serves as an entry and exit point
on both sides of the boat. While constructing the side panels I left all the bottom edges unfinished
and didn't trim them down and hem them till I fit them on the boat.
|
|
| The inside of each panel has a zippered flap to open and close the window.
When both panels were ready I attached them to the roof and mounted the roof and panels to the boat.
This allowed me to take measurements for the foreward side panels.
|
|
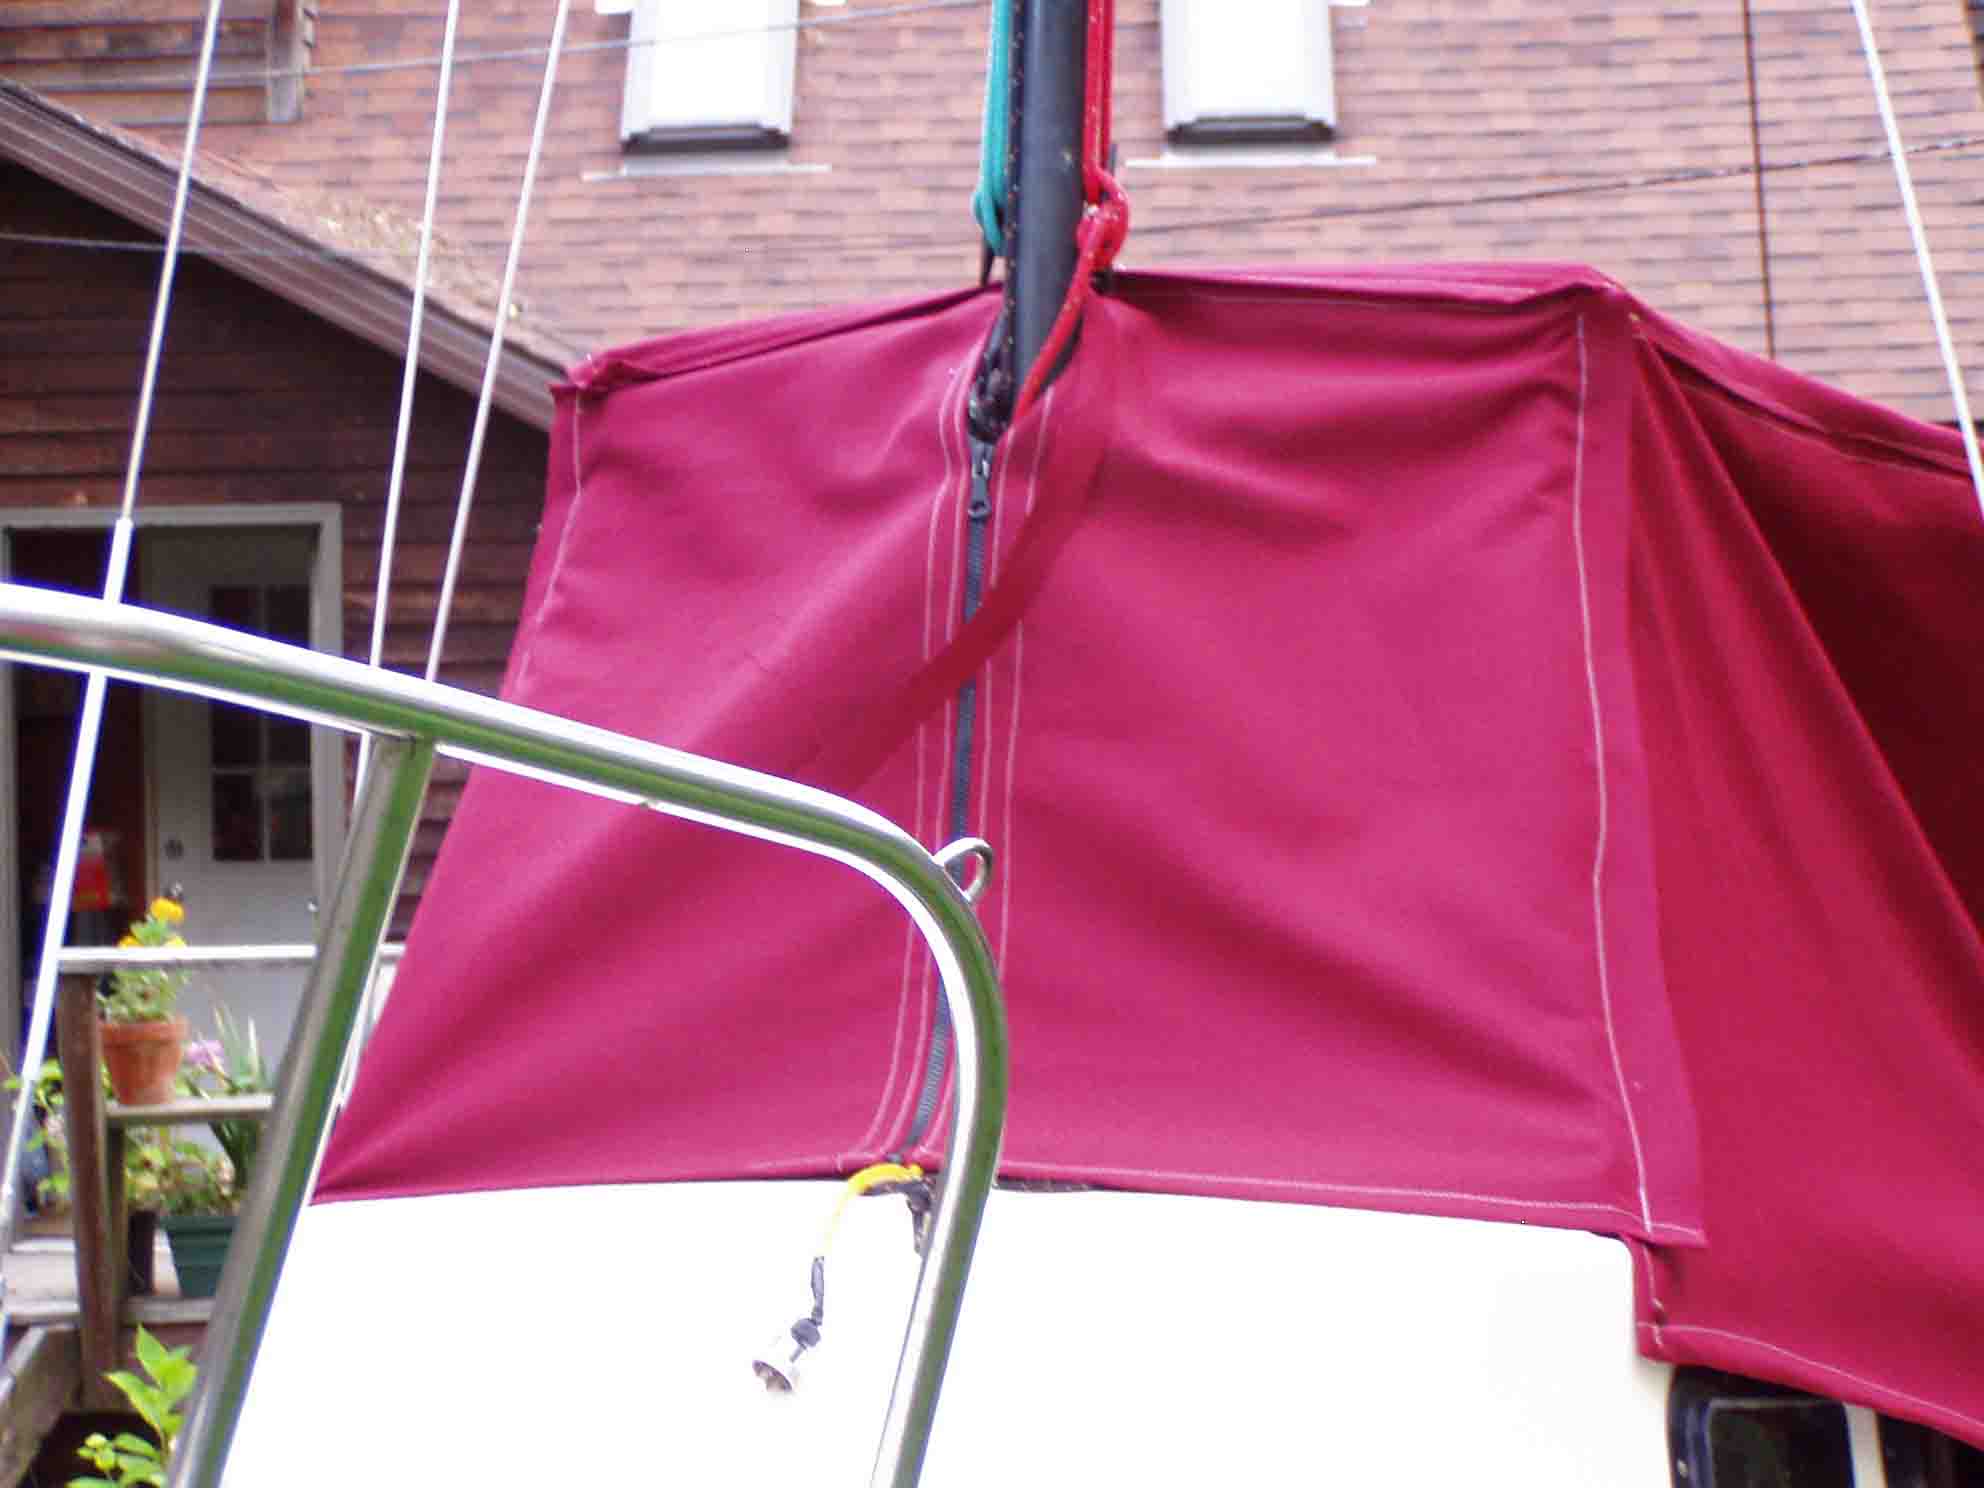
| I then made 2 forward side panels. I rough cut the panels and pined
them to the tent right on the boat to make sure they would fit properly.
|

|
|
| I made the front panel by sewing a zipper between 2 rough cut pieces and fitting the
result right on the boat. After I pinned it, I brought it in and sewed it. I'm actually not quite
done in this picture. I still have to fold the extra material under and sew it down to the side panels.
|
|
| I still have to add a few snaps to get out the
wrinkles but, at this point it'll keep out the rain and the bugs. :-)
|